


There is a specific kind of excitement that comes with unboxing a brand-new 4K monitor. You plug it in, anticipating crystal-clear visuals and vast screen real estate. But for many Mac users, that excitement turns to confusion the moment the screen lights up. Instead of a perfect workspace, you are greeted with interface elements and text that are microscopic.
If this sounds familiar, don't worry—your monitor isn't broken, and your Mac isn't incompatible. Today, I’m going to walk you through exactly why this happens and how to fix it by enabling HiDPI on your Mac external display.
")
The Problem: "Why is Everything So Small?"
When you connect a high-resolution display to a Mac, you expect sharpness, not miniaturization. However, the default behavior of macOS for third-party 4K monitors often defaults to the native pixel resolution (3840 x 2160).
While this provides a lot of workspace, on a 27-inch or 32-inch screen, it forces text and icons to render at a 1:1 pixel ratio. Because the pixels are so dense, the user interface (UI) becomes frustratingly small. Conversely, if you simply lower the resolution in System Settings to make things bigger, everything becomes blurry and "fuzzy."
You are stuck between two bad choices: Tiny and Sharp OR Big and Blurry.
The Science: Resolution, Scaling, and the "Retina" Effect
To understand the fix, we need to look at how macOS handles scaling. Apple’s "Retina" displays rely on HiDPI (High Dots Per Inch) scaling.
Here is the simple breakdown:
Standard Scaling: One logical point equals one physical pixel. On a 4K screen, this makes items tiny.
HiDPI Scaling: macOS renders the screen at a massive resolution (like 5K or 6K) and then scales it down to fit your 4K monitor. This effectively uses 4 physical pixels to render 1 logical point.
The result? Text looks as smooth as a printed page, and the UI size is comfortable (similar to a 1440p or 1080p screen) while retaining the crisp detail of 4K.
However, macOS notoriously hides these HiDPI options for non-Apple Mac external displays. That is where we need a software workaround.
")
The Solution: Enabling HiDPI with BetterDisplay
While there are several tools out there, we at NPC recommend BetterDisplay for its reliability and ease of use. Follow these steps to unlock the full potential of your 4K monitor:
Step 1: Install BetterDisplay
Download the BetterDisplay application (there is a free version that handles standard HiDPI tasks perfectly). Move the app to your Applications folder and launch it. You will see a monitor icon appear in your menu bar.
Step 2: Configure Settings
Click the BetterDisplay icon in the menu bar. Locate your external 4K monitor under the "Displays" section.
Go to Settings (gear icon).
Navigate to the Displays tab.
Ensure "Edit the system configuration of this display" is checked.
Step 3: Enable HiDPI Mode
Scroll down to the resolution settings. You usually need to manually enable HiDPI if it isn’t showing up.
Look for the option "Enable HiDPI resolutions".
You may need to reboot your Mac or disconnect/reconnect the monitor for changes to take effect.
Step 4: Choose Your Ideal Look
Once HiDPI is active, go back to the BetterDisplay menu (or your Mac’s System Settings > Displays). You will now see a slider or a list of resolutions marked as "(HiDPI)".
For 27-inch monitors: We recommend selecting 1920 x 1080 (HiDPI) for a "Retina" look, or 2560 x 1440 (HiDPI) for more screen real estate.
For 32-inch monitors: 2560 x 1440 (HiDPI) is usually the sweet spot.
Congratulations! Your text should now be razor-sharp and perfectly sized.
")
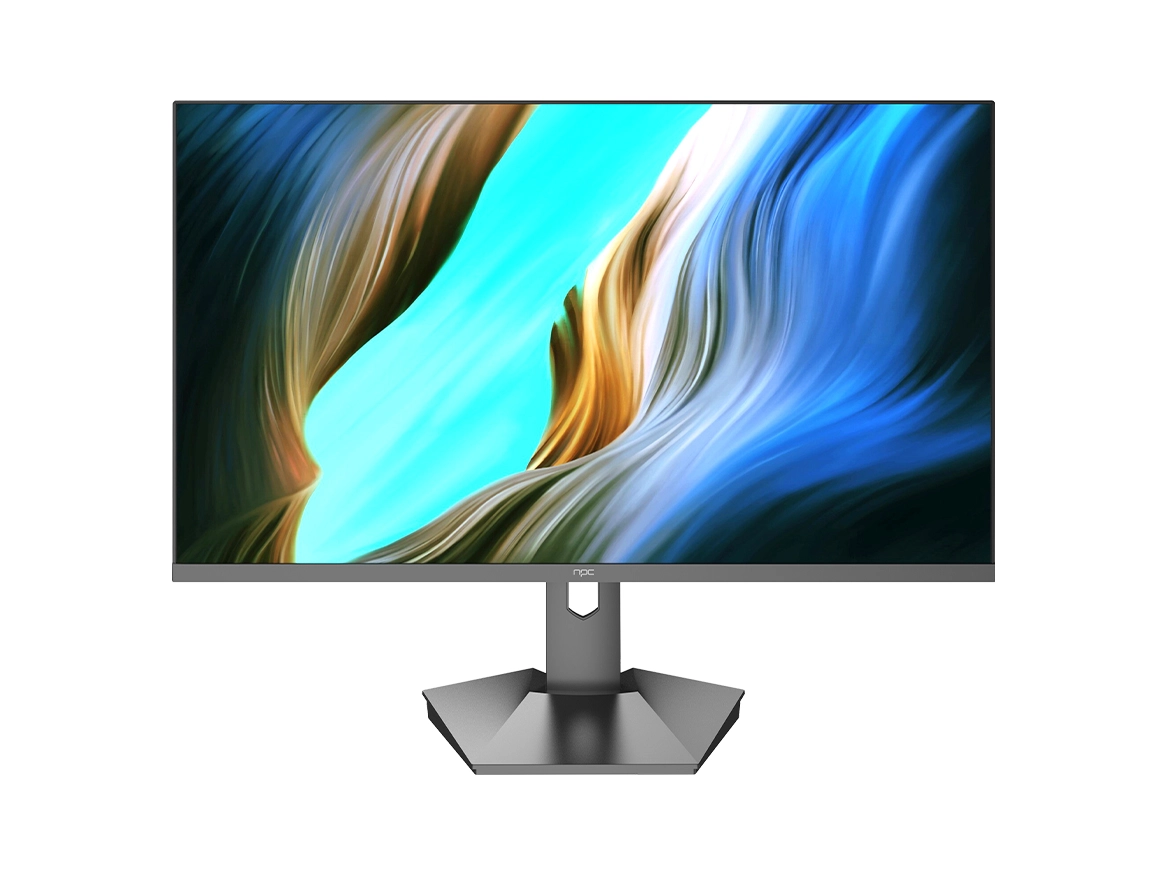
Hardware Matters: The NPC Professional Series
Software can fix scaling, but it cannot fix color accuracy or panel quality. If you are a designer, producer, or digital creator, enabling HiDPI is only half the battle. You need a monitor capable of rendering those pixels with precision.
This is why we developed the NPC Professional Series Monitors. Tailored for those who demand visual excellence, these displays are the perfect companion for your Mac.
Why Choose NPC Professional for Mac?
Ultra HD 4K IPS Panels: We use high-quality IPS technology to ensure that when you enable HiDPI, the image remains consistent from every viewing angle.
Cinema-Grade Color Accuracy: For creative professionals, color isn't a suggestion—it's a requirement. Our Professional Series (such as the NPC-MU2707-K and NPC-MU3207-K) boasts wide color gamut coverage. We are talking up to 97% sRGB and DCI-P3 coverage. Whether you are color grading footage or editing photos for print, what you see is what you get.
Expansive Canvas: We offer sizes up to 32 inches. A 32-inch NPC Professional monitor running at 3840x2160 allows you to edit 4K video at 100% scale while still having room for your timeline and tools.
Premium Features: With support for HDR10, you get deeper blacks and brighter highlights. Plus, our ergonomic stands (tilt, swivel, pivot) and built-in eye-care technology ensure you can work through long creative sessions without fatigue.
FAQs
To wrap up, here are answers to common questions we receive from users setting up their Mac external display.
Q: Will enabling HiDPI slow down my Mac?
A: HiDPI does require slightly more GPU power because the Mac is rendering a higher resolution image and scaling it down. However, on modern Macs (especially M-series chips), this impact is negligible. You will enjoy smooth performance.
Q: My monitor looks "washed out" after connecting.
A: This is often an HDR issue. Try turning off "High Dynamic Range" in your Mac’s System Settings > Displays. Unless you are actively viewing HDR content, SDR usually provides better brightness and contrast for daily tasks.
Q: Which cable should I use for 4K 60Hz?
A: Always prioritize DisplayPort or USB-C / Thunderbolt. If you must use HDMI, ensure both your cable and the port support HDMI 2.0 or higher. Older HDMI cables limit you to 30Hz, which makes the mouse cursor feel laggy.
Final Tip from NPC Electronics
If you are using an NPC Professional Monitor, make sure to switch the color profile in your Mac settings to match the monitor's specific mode (e.g., set the monitor to DCI-P3 mode and your Mac profile to Display P3) for the most accurate workflow.
Ready to upgrade your visual experience? Don't let blurry text hold you back. Enable HiDPI today, and if you are looking for the hardware to match your ambition, check out the full NPC Professional Series catalog.


