

Should local dimming be on or off? If your TV offers a local dimming control, start with it enabled for HDR films and shows. If small bright details look distracting, faint shadows disappear or brightness shifts visibly on your screen, compare a lower level or Off where offered. The setting changes how an LED backlight responds to different parts of the picture. Some TVs manage the backlight automatically and offer no separate control, so there may be nothing to turn on or off.
At NPC Electronics, we want picture advice to help you make a choice on the screen in front of you. This guide explains what the setting does, how to compare levels fairly, and which other controls can change the result. Menu names and available options vary by TV.
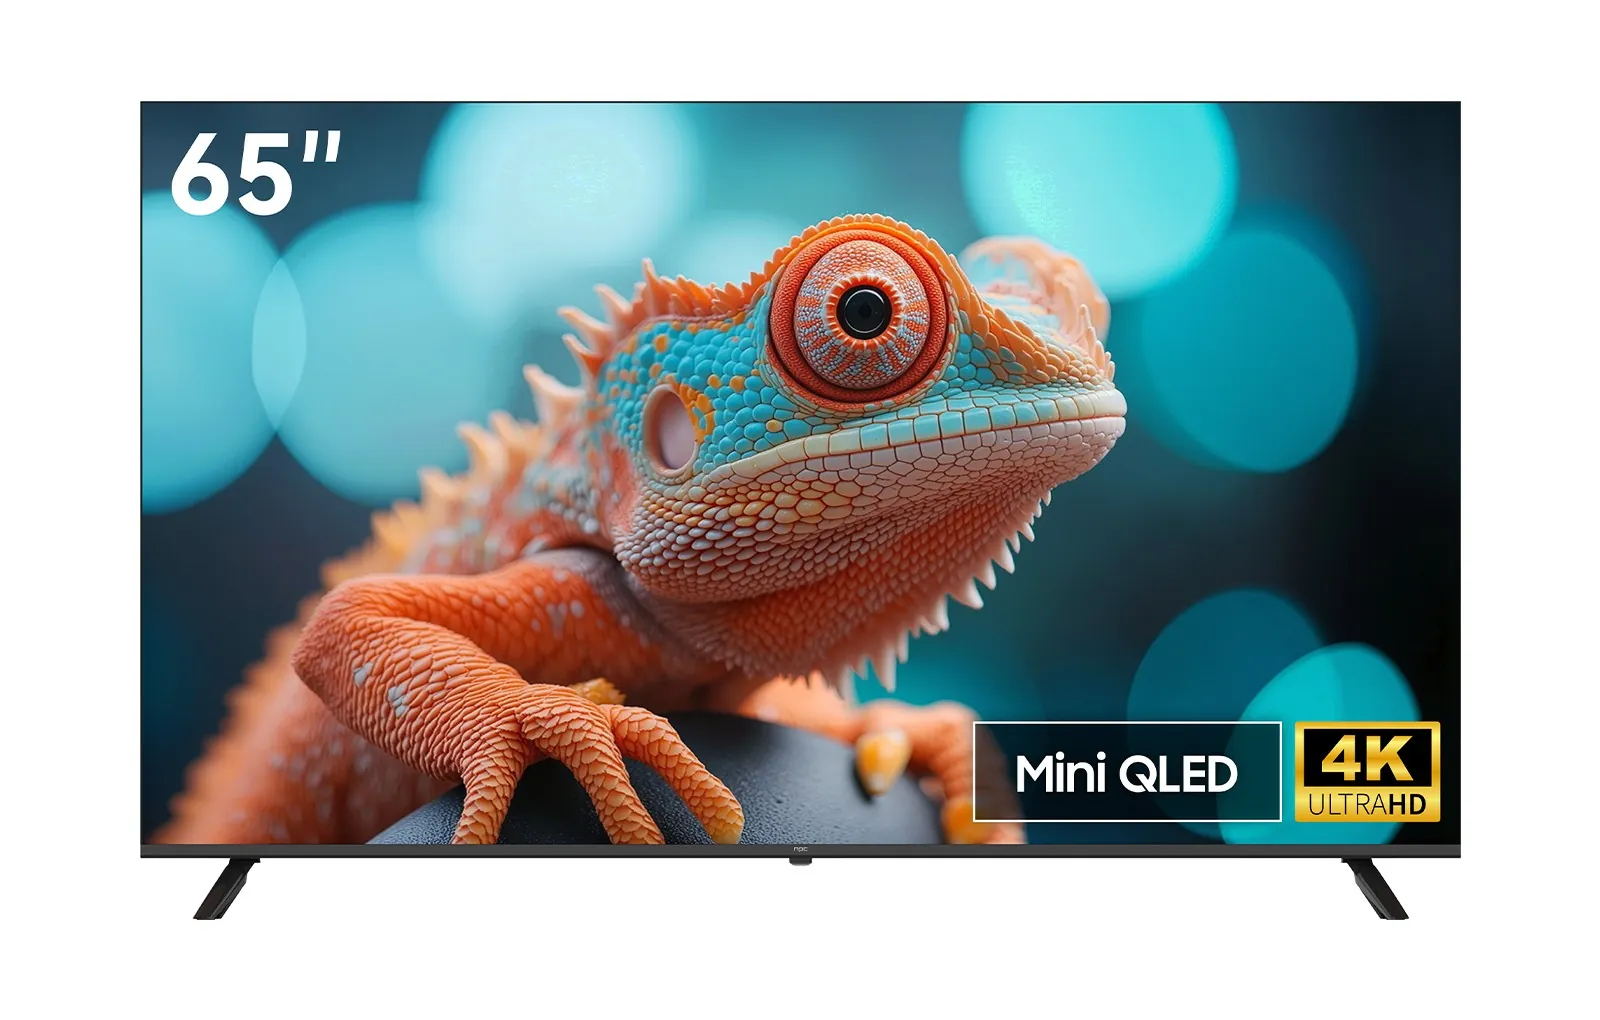
Local dimming on or off: a quick guide
Use these as starting points only if your TV lets you adjust local dimming. An enabled option may be labelled On, Auto, Low, Medium or High. If your TV has no separate control, use its available picture modes and the same viewing checks below.
| What you are watching | Where to start | When to compare another option |
|---|---|---|
| An HDR film or series | Start with the TV’s enabled or default setting. | If bright highlights look distracting or faint shadow details become hard to see, compare a lower level and then Off if offered. |
| Standard TV or live sport | Keep the default setting first. | If the whole screen seems too dim, check room reflections and the overall brightness control first. Compare dimming levels only after holding those conditions steady. |
| An HDR console game | Choose a gaming picture mode if your TV offers one, then start with its default dimming option. | If dark areas are hard to read, compare the levels available in that mode. A dimming label is not an input-lag measurement. |
| A fast competitive game | Start with the TV’s low-latency picture mode if one is offered. | Compare any available dimming choices with the same game scene; choose for visibility and assess responsiveness separately. |
| A dark scene with subtitles | Start with the enabled setting. | If the text draws attention away from the scene, compare a gentler level or Off where available. Judge the text and nearby dark background together. |
| A TV used as a PC display | Start with its current picture setting. | If moving bright windows or dark-theme text make brightness changes distracting, compare a lower level or Off if the TV permits it. |
What changes when local dimming is on?
An LCD screen does not make its own light. LED lights behind it provide the backlight, while the LCD pixels control how much of that light passes through to form the image. A TV with local dimming groups parts of its backlight into zones. It can reduce the light behind a dark part of the scene while maintaining light behind a brighter part. That simultaneous control can make a night scene with a lamp, moon or window look more dimensional than a backlight set to one level across the whole screen.
Turning local dimming Off, where the TV allows it, generally disables that user-adjustable zone-by-zone effect. It does not remove the backlight or change the screen’s resolution. Overall screen brightness can still be adjustable through a separate control. Some TVs may retain other automatic backlight behaviour, so use the visible result on your screen as the guide.
This explains why the effect is easiest to judge in mixed scenes. An all-bright sports field or an almost-black screen tells you less about how the TV handles a bright subject and dark background at the same time. A familiar film shot with small highlights gives you a better comparison.
Backlight zones are not picture pixels
A 4K picture contains millions of pixels, while a local dimming backlight has a much smaller number of controllable zones. Each zone supplies light to an area containing many LCD pixels. If a small bright object and a dark area occupy the same zone, the TV must balance the light needed by one against the darkness of the other. The LCD panel and the processing that controls the zones both influence the final image.
That is why there is no universal number of zones that makes a setting “good.” More zones can allow finer control, but their arrangement, the panel and the speed and decisions of the dimming system also matter. Choosing High instead of Medium changes how existing zones are used; it does not add physical zones. Mini LED refers to smaller LEDs in the backlight, which can support a finer arrangement, while the zone count describes how groups of those LEDs are controlled.
What viewers mean by blooming, crushed blacks and brightness pumping
Blooming or haloing describes a glow that may appear around a small bright object against a dark background. It can happen when a backlight zone must illuminate both the object and its darker surroundings; the LCD panel still helps contain the light. Crushed blacks means subtle dark details are hidden, such as folds in a dark coat becoming one flat patch. Aggressive dimming is one possible cause, but the black-level setting, source and picture mode can also matter. Brightness pumping means a visible rise or fall in light as a scene or object changes. If any effect distracts you on your own TV, compare the same scene across the options it offers.
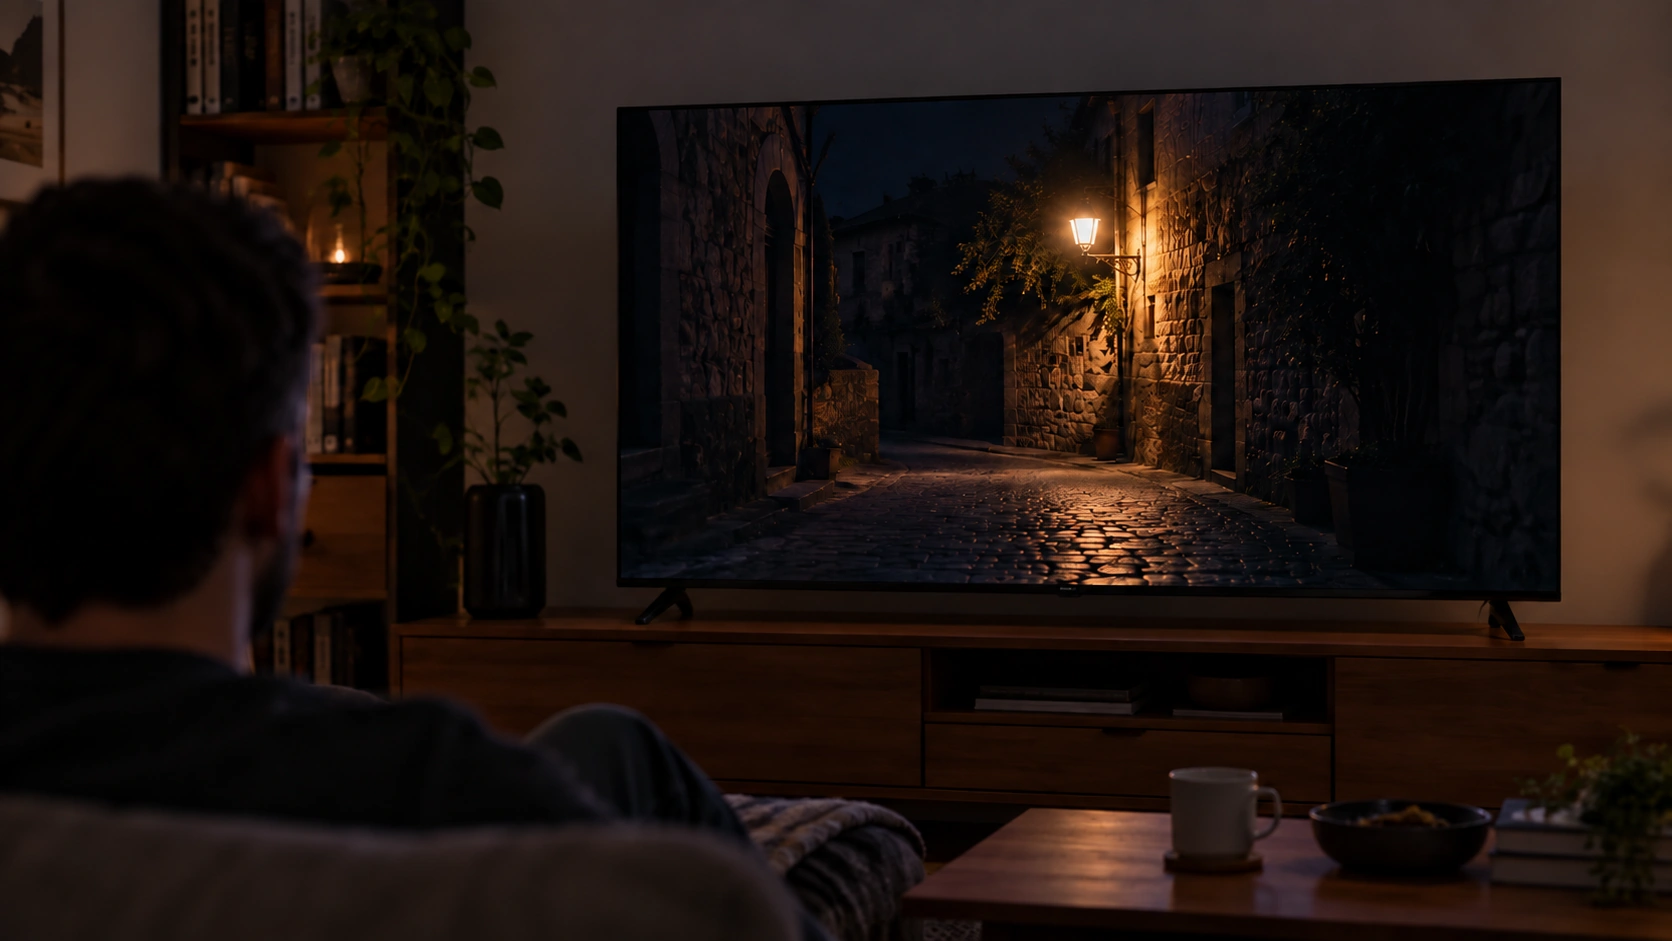
A small bright subject against a dark scene helps you check highlight and shadow detail together.
HDR, SDR and room light change what you notice
HDR content is designed to carry a wider range between bright highlights and darker areas than SDR content. Local dimming is one way an LED TV can present that separation. It does not turn an SDR broadcast into an HDR source: the source format and the backlight setting do different jobs. This is why a dramatic HDR scene is often the clearest place to compare On with another setting.
For a daytime broadcast or a mostly bright sports scene, the difference may be subtler. Room light and reflections can have a bigger effect on how dark the picture looks. If the entire screen is hard to see, first consider the room lighting and the TV’s overall brightness or picture mode rather than assuming local dimming is the cause. For evening viewing, use a scene with both dark and bright elements to judge whether your chosen setting keeps the image comfortable and detailed.
Peak brightness and everyday screen brightness also describe different things. A peak figure concerns a bright part of an image under particular conditions; it does not tell you how bright a full white screen remains. When comparing settings at home, use real scenes as well as any test pattern, because a single bright square cannot represent every programme or game.
Local dimming is different from other picture controls
Picture menus can put several controls close together even though they do different jobs. Local dimming adjusts the light behind different parts of the image. A backlight level usually changes overall light output. A black-level control changes how the darkest signal levels appear; lowering it too far can hide details rather than improve backlight control. A contrast or white-level control affects the brighter end of the signal. Picture presets can change several of these settings at once.
Manufacturers do not use the same names for every control, and “Brightness” can mean different things in different menus. Read the on-screen description if one is provided. For a fair local dimming comparison, keep the picture mode and those other controls fixed while changing only the dimming option. If an automatic light sensor changes screen brightness with the room, compare settings under stable lighting.
If your TV offers High, Medium or Low
These labels describe a particular TV’s dimming choices, not standard measurements shared across brands. Higher levels are often more assertive in separating bright and dark areas, but the visible result depends on the TV and the scene. Start with the TV’s default enabled level, then compare one step above or below it if those choices exist. You do not have to choose High simply because its name sounds strongest.
When you want to settle a specific concern, compare the default enabled option → a lower level if available → Off if offered. If you like the enabled picture overall, keep it. If white subtitles or small highlights draw your attention away from a dark scene, or if a moving scene seems to shift in brightness, try the next lower level while leaving the rest of the settings alone. If the effect still bothers you and the TV offers Off, compare Off with the same scene. If there is no intermediate level, compare On and Off directly. Some TVs remember choices by picture mode or input; check yours rather than assuming one change applies everywhere.
This comparison is about the picture you see on your own TV. The same menu label can produce different results across models and content.
A three-scene check you can do at home
You do not need specialised equipment to choose a setting you enjoy. Use familiar content, view from your usual seat, and keep the room lighting and picture mode the same for each comparison.
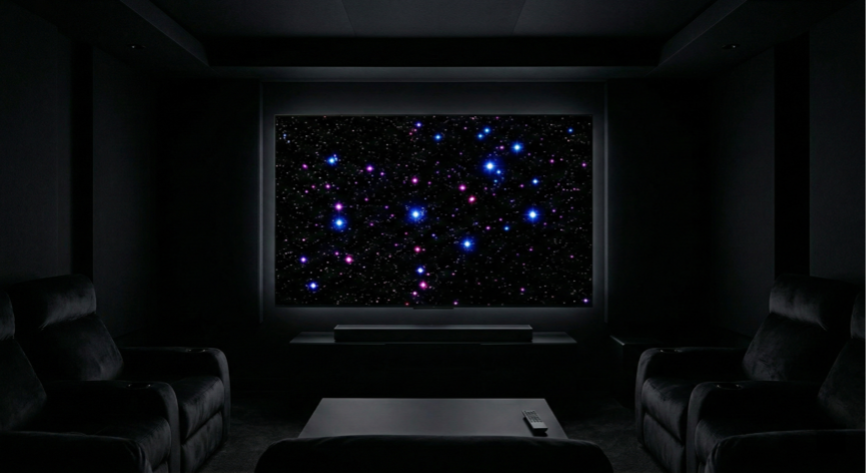
A starfield is one scene you can replay when comparing the settings available on your screen.
1. Subtitles over a dark scene: Look at the text and the nearby background together. A small bright object against a dark field asks a backlight zone to serve both. Decide whether the whole image remains comfortable to watch, not just whether the letters look bright.
2. A moving light or highlight: Let a night scene or game sequence play rather than pausing it. Notice whether bright and dark parts remain consistent as the object moves. Static images cannot show how zones respond over time.
3. A face or object in shadow: Check whether you can still see the detail you expect in the dark area while the nearby highlight retains its impact. Compare the same few seconds at each available level.
Change only one control at a time and return to the same point in the scene. If a phone photo looks different from what you see in person, make your final choice from your normal viewing position. After testing, keep the setting you prefer for the content and room conditions you use most.
Local dimming and gaming: picture first, lag measured separately
For an HDR game, local dimming can help a bright effect stand out against darker scenery. If your TV offers a gaming picture mode, select it first, then compare the dimming choices that remain available. Use the same game scene for each comparison. A mode that makes highlights look more dramatic is not automatically the mode that makes dark areas easiest to navigate, so look at both.
Input lag is the time between the TV receiving a signal and showing it. It depends on the TV’s full processing path, the signal and the mode in use. A local dimming option labelled High or Low is not an input-lag result. If responsive controls are your priority, use the TV’s low-latency or Game mode where offered and treat dimming as a picture preference within that mode. A model’s actual lag at a given resolution and refresh rate requires measurement; do not infer it from a menu label.
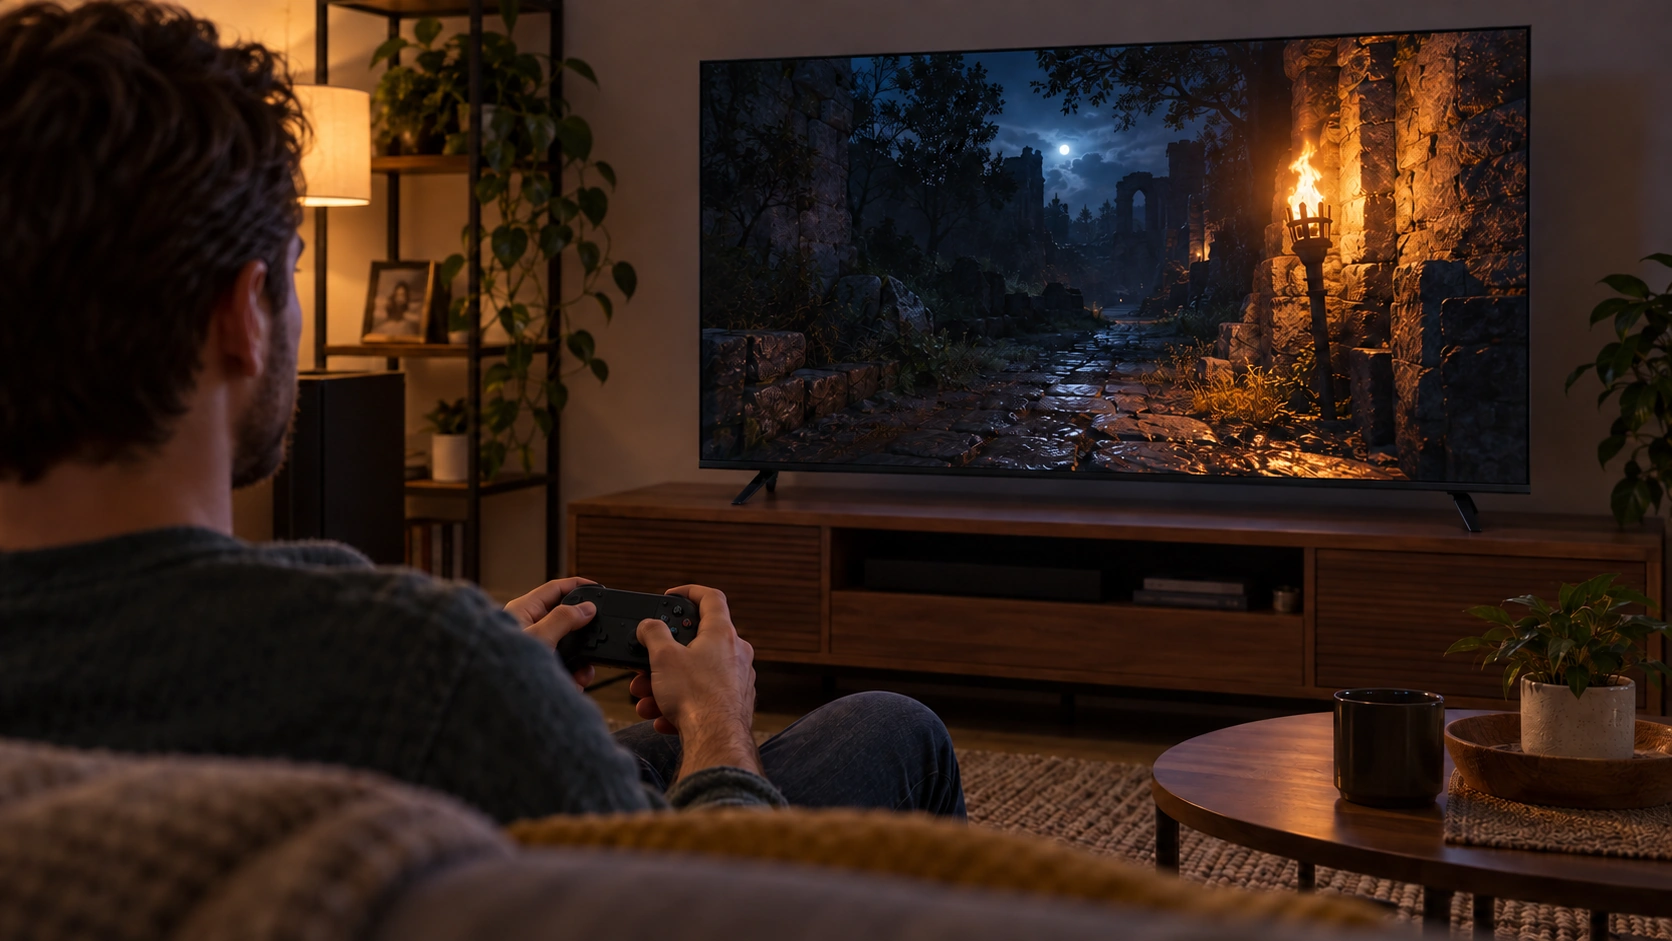
For games, compare picture choices within the gaming mode your TV offers.
Our 65M1 and 55M1: backlight specifications
At NPC Electronics, our MiniLED 65M1 is a 4K QD-MiniLED TV. Its product specifications list 198 backlight zones and peak brightness above 800 cd/m².
Our MiniLED 55M1 is also a 4K QD-MiniLED TV. Its product specifications list 140 backlight zones and peak brightness above 800 cd/m².
To choose a setting for your own screen, use the viewing checks above with the controls available to you.
Frequently asked questions
Should I leave local dimming on all the time?
An enabled setting is a useful starting point, especially for HDR films. If subtitles, shadow detail or changing brightness distract you, compare a lower level or Off where offered. A TV that controls dimming automatically may not have a separate switch.
Does local dimming add input lag to games?
Not automatically. A High or Low label gives no input-lag figure. Lag depends on the TV, signal and current picture mode; establishing any difference requires measurement on that model under those conditions.
Does turning on local dimming make SDR content HDR?
No. Local dimming controls the LED backlight; it does not change the source signal’s format.
Does OLED use the same local dimming setting?
No. OLED pixels produce their own light, so they do not use the LED backlight zones discussed in this guide.
Start with your TV’s enabled or default setting, make a fair comparison with scenes you know, and adjust only if another available option looks better to you. Explore our MiniLED TV range to compare available screen sizes.